Router Sled / Worktable
For our first project we are going to show in some detail what was involved in the fabricating of our new Router Sled/ Worktable. We hope you enjoy this page and of course, if you have any questions please feel free to contact us.
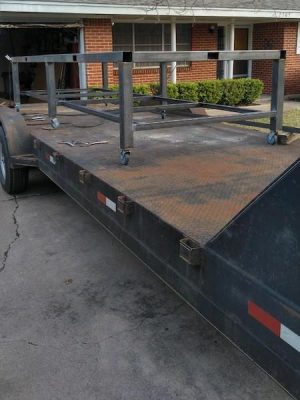
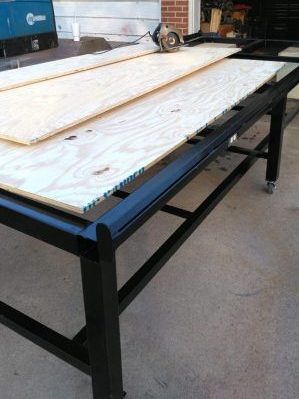
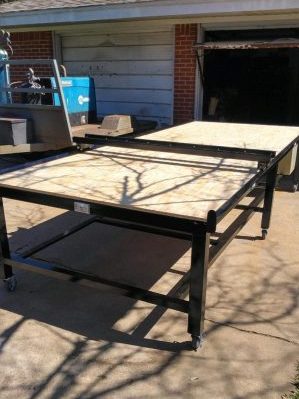
One advantage of having a lot of fabricating experience is that we can fabricate some of our own tools to our own specifications. We outgrew our last Router sled fairly quickly and decided to build a new, much larger table to handle bigger slabs with less time involved in constantly having to rearrange the slab to flatten it. Once we decided what we wanted the next step, of course, is deciding what type and size of the material to start with. When it comes to steel and depending on the project, thicker is not always better, especially if it is something you will be moving around. In this case 3″ X 14 ga. square tubing, stationary, swivel, and locking casters, 2″x2″x3/16″ angle and 3/4 inch plywood.
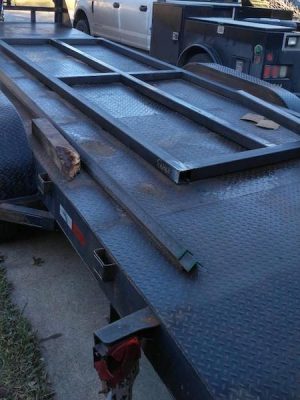
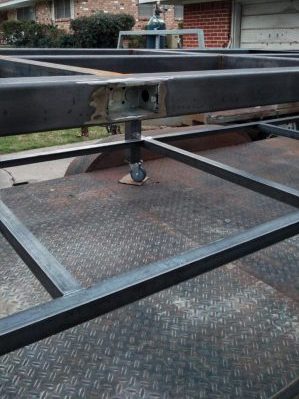
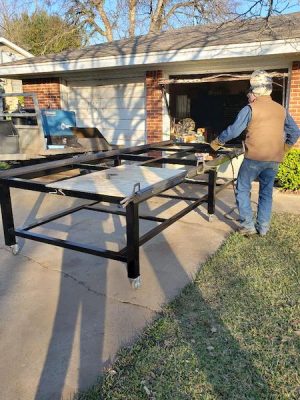
Now to start welding this beast together. Lets put the basic frame together first…duh. Once we decide on the finished height we subtract the thickness of the plywood, table frame and the size of the casters then cut our legs, weld them to the frame and add the casters.
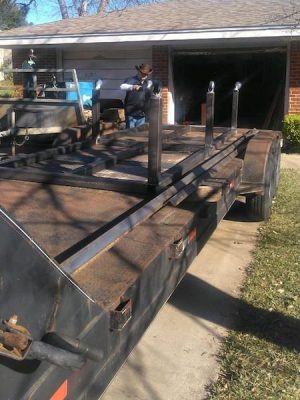
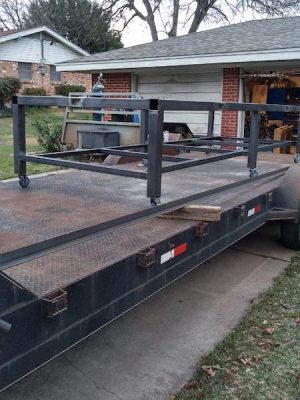
Now that we have the basic frame with legs and casters, let’s flip this puppy over and finish fabricating the frame….somebody going to help me with this? It’s not as heavy as it looks…seriously…hellooo.
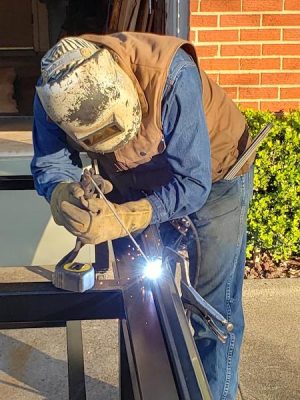
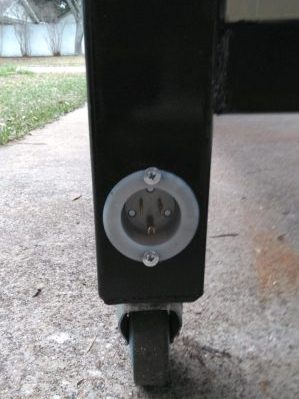
Now that it is upright we finish framing the top and add our angle iron bracing to the legs. The bracing on the sides we welded to the inside of the legs instead of flush with the outside. This is done for 2 reasons…1) You will spend more time working from the sides than from the end so moving them in gets them out of the way of your legs. 2) By moving the bracing to the inside we can use one full sheet of material if and when we decide to add a shelf. After adding bracing we cut out the frame on the sides and ends for electrical outlets, this is also why the ends of the square tubing are left open instead of mitered to 45 degrees and welded. Also when fabricating the basic frame…if you are adding outlets…make sure to cut out the inside of the square tubing so that it is open all the way around to add the wiring later.
Now we weld in the electrical boxes. This is where you find out if you cut the holes the right size…lol.
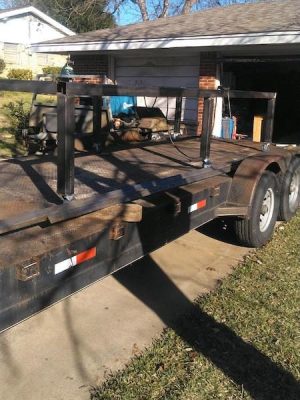
Now that the frame is finished it is time to take it to the shop and paint the frame with good industrial enamel. The advantage of having a good steel deck trailer is that the project stays on the trailer from picking up the material until the frame is finished and painted.
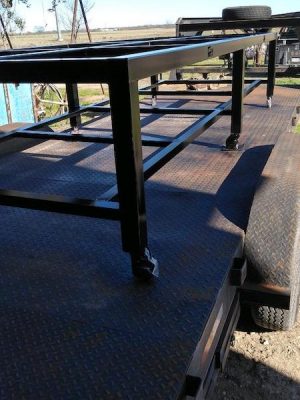
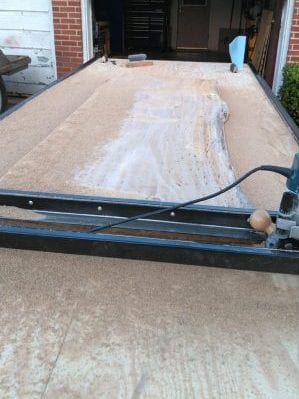
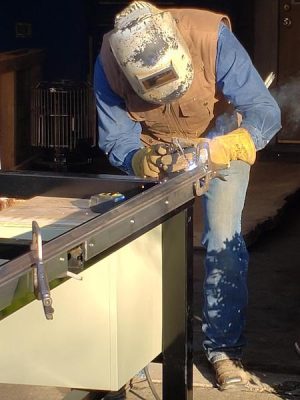
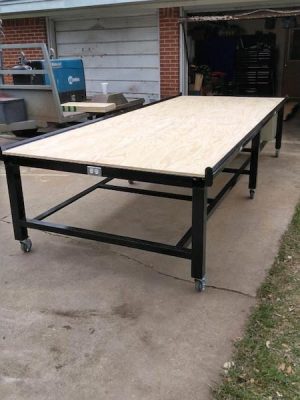
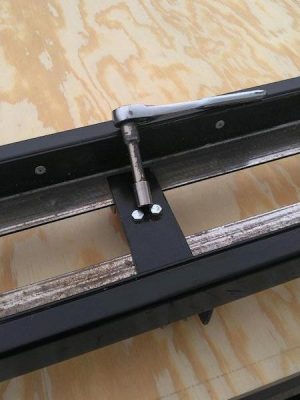
Now that the frame is finished, painted and cured it is time to fabricate the rails for our Router Sled. Believe it or not what little bit of welding that is being done does not affect the paint. We are welding 1 inch above the frame and because the paint is cured and of good quality, the little bit of buckshot that lands on it won’t even make a mark. Welding the rails together while mounted on the table prevents warping and twisting while welding. Before welding, make sure your rails are bolted in the correct place on the frame. Our rails are removable…we plan on automating it at some point in the future.
When cutting out the frame rail we had to make sure we cut it out enough to go around the outlet plates. You can also see that we have already run our wiring for our outlets.

Now to paint our newly fabricated Router Sled Rails. Don’t tell anybody but I just used spray can paint on the rails…shhhh.
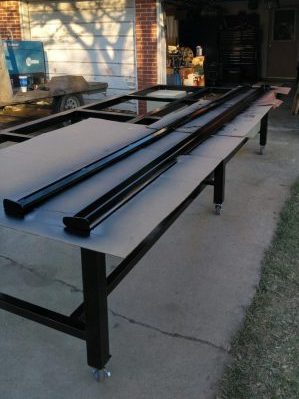
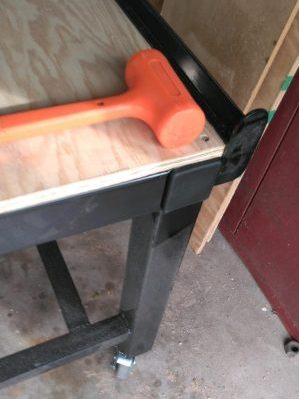
Rails are installed. Now for the plywood. We built the table frame so that the plywood seams will be in the middle for both the length and width. It takes more material but it looks more symetrical and professional.
Commercial grade electrical outlets with metal face plates installed and exstension cord plug. Chances are your local box stores like Lowes or Home Depot, will not carry the Exstension cord plug, I got mine from my local Electrical supply house…they actually had it in stock.
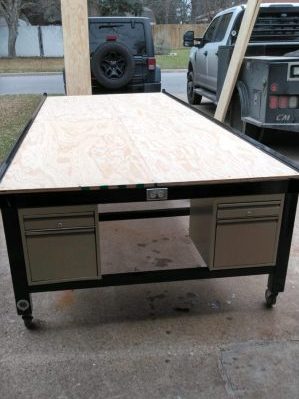
If you notice, on the front end of the table there are what look like 2 short file cabinets…..ok, fine…they actually are file cabinets. I looked everywhere and could not find the size toolboxes that I wanted, then while at a customer’s place of business he showed me these, we use these for our sandpaper, scuff pads, brush, screws, etc. The cabinets were a perfect size so I purchased them…yes, I purchased them before building the frame.
Now to adjust my Router sled to fit the new table. When I built my last Router sled, I made sure to build it to be adjustable for a bigger table at some point….some point is here.
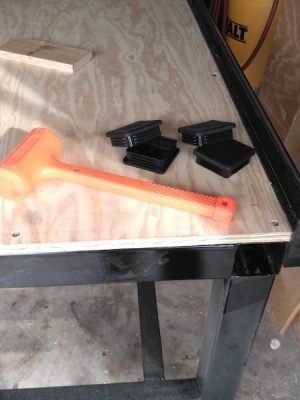
Now for the finnishing touch. Installing the plastic plugs at the ends of the table. The last thing you want is for that square tubing to get filled up with sawdust.
And of course there is no reason to build something like this if you are not going to use it.